I tried to test if possible to use an Arduino to sniff data sent to a HD44780 16x2LCD running in 4 bit
mode. Did not work as an Atmega328 @16Mhz was not fast enough to sniff the data without missing data.
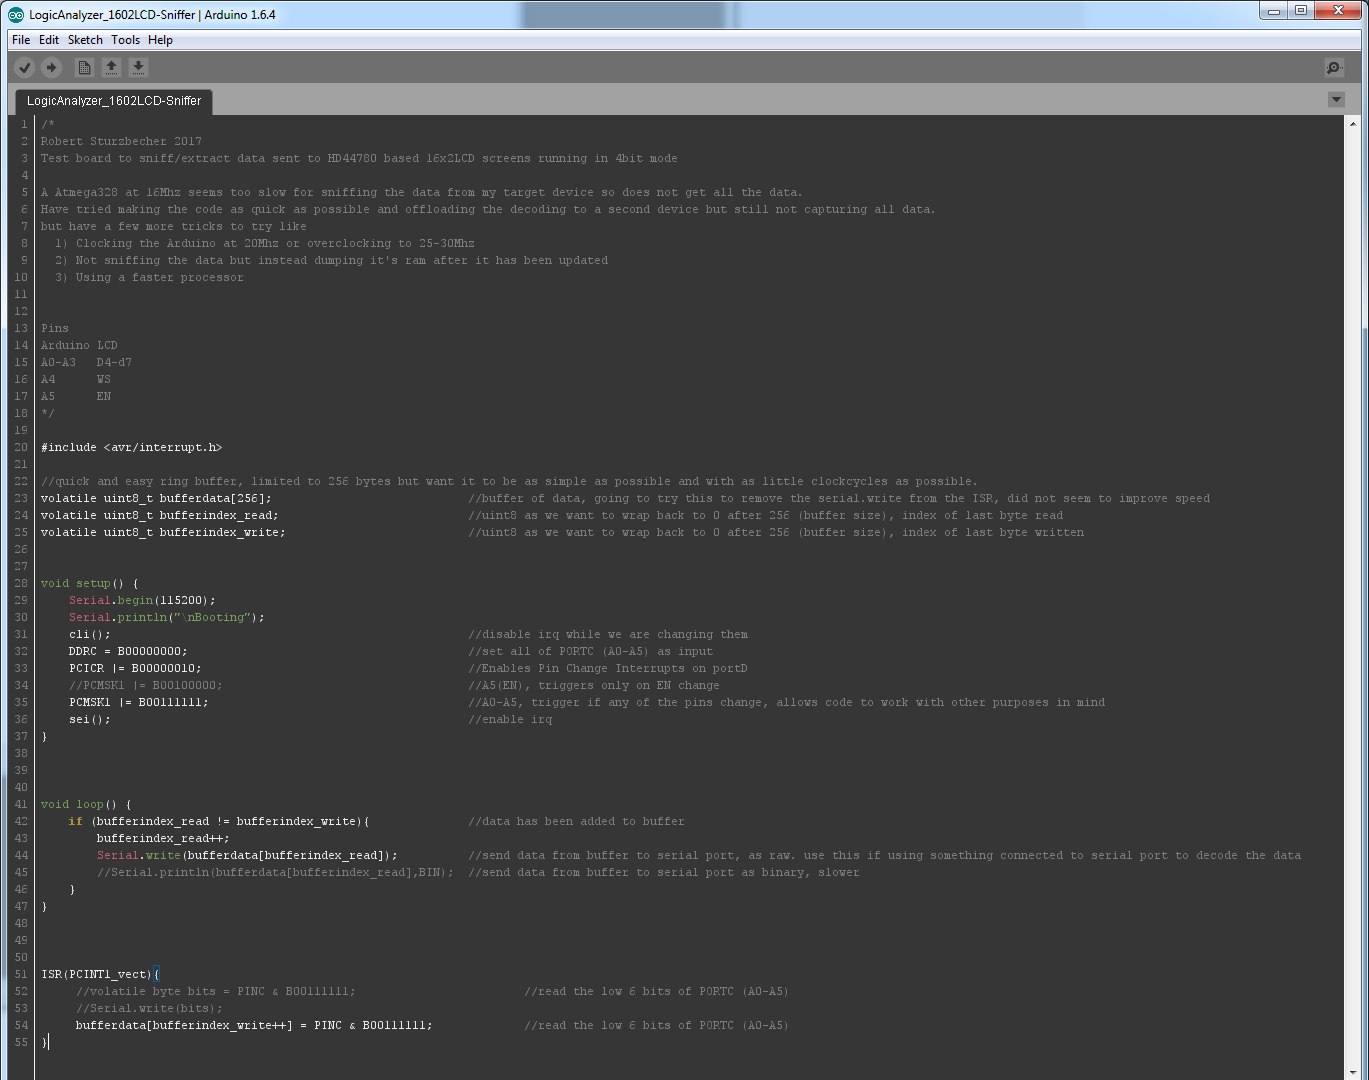
I am posting the code publicly as could be helpful for others for direct IO port reading (multiple pins) or basic circular data buffering. The code might still work for HD44780 sniffing if the target is using a slower data transfer rate or if a faster clock speed is used on the Arduino. The code can also be used as a basic 6bit logic analyzer.
I tried to keep the code as lean as possible and offload as much of the decoding to a seconds processor but still was not able to read the pins fast enough to keep up with the data stream to the LCD.
The code was designed for a atmega328 based Arduino but may work with other atmel based boards.
In the code I make use of a 256 byte circular data buffer, this was coded with speed in mind so is very simple. If the buffer fills with over 256 bytes the buffer will suffer data loss.
You can access the code here:
https://bitbucket.org/grobschmit/hd44780-sniffer-logic-analyzer